- I have no money to buy the real thing,
- I want to show my creative side,
- What I want is not available or not to my liking,
- I want to recycle scraps and rubbish,
- I have no time to go and buy the thing,
- I have too much time in hand, and
- I have school task(s).

Saturday, October 23, 2010
Crafting Reasons
Some Reasons Why People (scratch that), why I Craft:
Sakura Drawstring Bag

I decided to make this dress a week before my graduation day. I could have bought a clutch or those mini purse women bring during parties. But, I thought those would be impractical since I always bring everything with me (cell phones, digicam, tissue, etc). And this drawstring bag would match my dress which is rather kimono styled.
I took the original design from Sarah Bradberry (click link to see the tutorial) with alterations due to my inability to use the sewing machine. Seriously, I don't use those scary machines! It's all handmade.
What you need:
2 pieces of 29 x 30 cm cloth of your choice (cotton works best, IMHO)
neadle
thread
embroidery thread
scissor
pencil/cloth pencil
pins
Time Estimation:
1 week (this is because I was sooooo lazy. Believe me, you can finish it in 1 or 2 days).
So here are the steps.
1. Prepare the cloth

I used one piece of cloth that I folded into two. You can use two pieces but it's really up to you. I just couldn't be bothered to hand sew a lot. Don't forget to neaten the fraying cloth buy using zig zag or overcast stitch (machine) or blanket stitch (hand-sewn).
The measurement is 29x30cm (length x height) as seen in picture.
2. Prepare the Embroidery

Before you sew your cloth together, it's easier to embroider on it first. I free styled sakura on a piece of paper and traced it on the cloth using drawing pencil. It doesn't really wash off but it's okay since the pencil line will be covered by thread.
3. Final Embroidery Result

This is what the final result is. The big Sakura are embroidered with running stitch and french knot. While the smaller ones use satin stitch. If you have no idea about embroidery stitches, go check Google. I've never done this before and it turned out not bad. So I think you have the chance to be able to do it even though you've never done it before.
4. Sew Your Cloth Together

*sorry for using the first photo, I forgot to take a pic of this step*
After you've embroidered the cloth, now it's time to sew it together. The red line on the pic indicates where you need to sew. I didn't sew the bottom part because I only need to fold it. But if you use two pieces of clothes, you definitely gotta sew it.
If you hand sew, use back stitch. It's pretty strong.
5. Sew the Top! :D

Now that you've sewn the sides, fold the seams and iron it. Then you take the top and fold it around 5cm. The red lines on the picture indicates where you have to sew.
I used double running stitch to give the effect of having back stitch (because original back stitch would show the ugly side of the stitch and you wouldn't want that).
When you're done with one side, do it on the other side.
6. Put the String In
Now it's time to put the string in. Make sure you put it from opposite sides, so when you pull it the top of the bag will crunch together.
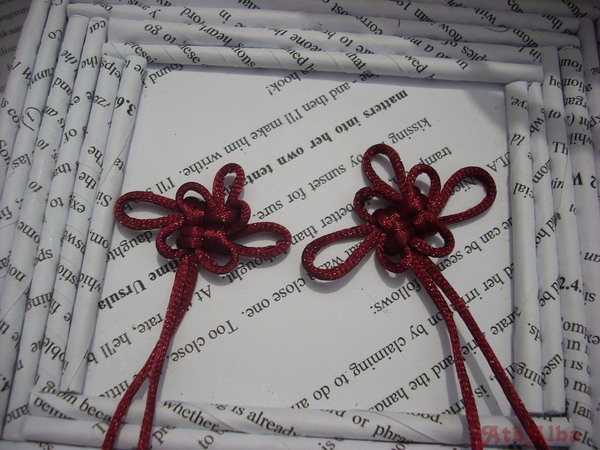
I don't know what string I used, but the measurement is 1 meter each and I made a decorative shamrock knot on each of the strings (it's also a charm knot for luck^^).
7. Voila!

This is the end result of the bag. Pretty neat, isn't it, for handmade? :D
*BONUS*

This is how the bag looks. It has everything in it, that's why it's rather bulgy. And no, the guy is not my boyfriend. :)
Monday, October 11, 2010
Oishii Sushi Platter

This is my sushi platter charm that I made using air dry clay. And as usual, I got the inspiration from Cut Out and Keep, Sumptuous Sushi Platter (taken from the book the Polymer Clay Cookbook).
I had to make adjustments because air dry clay has different texture than polymer clay. It dries by exposing to the air (no baking needed) and it has a rubbery texture when it dries. I have never tried using polymer clay, but I think it turns hard after being baked in the oven.
Here's my version of the the sushi platter. I added tamago sushi, cucumber roll, and ikura sushi because I thought it would be boring just to have nigiri sushi.
Itadakimasu, minna!

The sushi assortment, before being put on a platter

The sushi platter, haven't put a bail on it yet
Friday, October 8, 2010
My Photo Pop Art
I'm one you can call so inept in technology. I can do basic typing and things like that, but when it comes to advance technology - like photo editing via photoshop - you can be sure that I would be clueless.
That's why, when Cat Morley posted a how-to on turning your photo into pop art, I was quite ecstatic. The best resulting ones are the pouty or moody photos. Of all the photos that I have in my laptop hard disk, I only found one appropriate one. And well yeah, the result looks pop art enough for me.
I made two versions via photoscape. I like the brighter colour one. It looks more "pop".

Bright pop art. Pouty enough, isn't it?

This one was actually my first attempt. Not that bad, gloomy tho.
Wednesday, October 6, 2010
Felt Cake (with strawberry on top)

I made this project during my felt craft rage. It was inspired by one of the wedding gifts that my parents received.
Unfortunately, since I didn't like to follow the exact tutorial, I had to alter a square cake into a round cake. Square cake is easier, especially if you have to insert a box inside it.
But that didn't discourage me, and ta-da, you can see the result of my persistence!
So, if you're interested, here are the basic "ingredients":
felt (any colour that you want your cake to be)
thread and needle, or glue if you're feeling lazy to sew
a small box to put inside the felt.
My box was made out of extra manila paper that I had around which I wrapped with flowery scrap cloth. Recycling? Definitely. :D

Not that neat, but I'm quite satisfied with the result

I use it to store my extra charm loops. Oh, and one of my unused SIM card.
Saturday, October 2, 2010
Caged Heart

Basically I got this project from Cut Out and Keep (sorry if there's no credit, I'll try to find it later on), but there was no how-tos so I had to figure it out on my own. I have to say that this is way easier than math.
The heart is made from Amos Air Dry Clay because I couldn't find any teeny weeny heart charm. I was planning to put a yellow butterfly but then I realized that it was a yellow ribbon, not butterfly. Thank goodness for my procrastination! :p
Well, anyway, the photo above is the result. I think it looks pretty cool for someone being so lame in wire craft. Hehe.
Subscribe to:
Posts (Atom)